Premiere Pro Skills Every Video Editor Should Learn

Riten Debnath
09 Aug, 2026
Last updated: August 2026
Ever watched your timeline turn into a colorful pile of digital spaghetti at 2:00 AM while a client aggressively messages you for a "quick update"? That cold sweat isn't from your third energy drink. It’s the realization that relying purely on basic cut tools and default settings won't cut it when real professional pressure hits. Most video editors treat Adobe Premiere Pro like a glorified pair of digital scissors, completely missing the engine room under the hood.
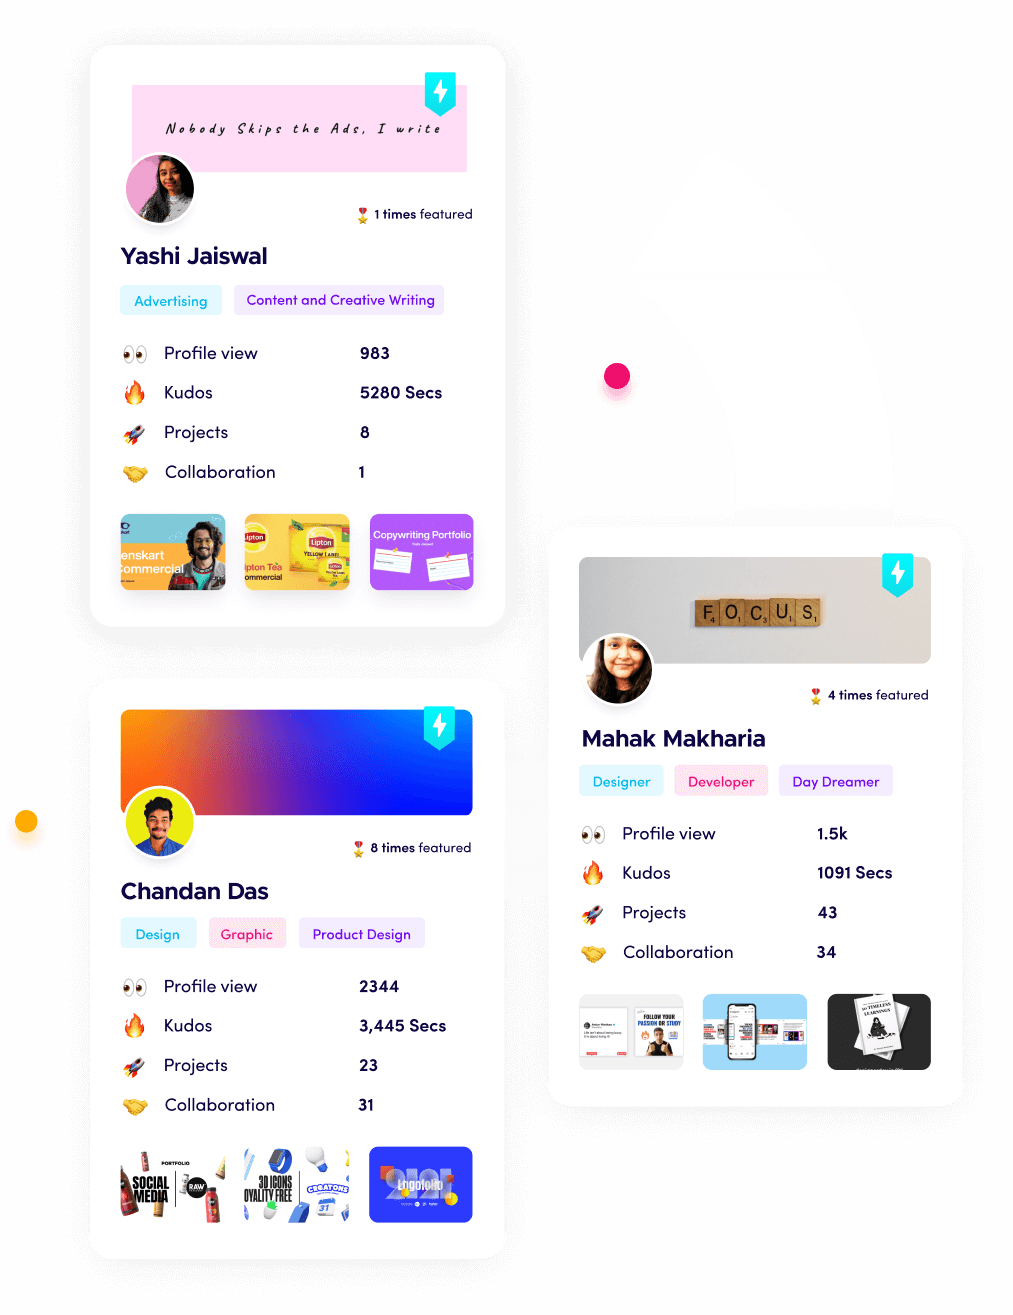
I’m Riten, founder of Fueler, a skills-first portfolio platform building the career infrastructure for 100 million creative professionals. Fueler connects talented individuals with companies through assignments, portfolios, and projects, not just resumes or CVs. Think of it as Dribbble/Behance for work samples combined with AngelList for hiring infrastructure.
If you want to move from frantic timeline scrubbing to delivering high-caliber, client-ready edits without burning out, you need to master the technical engine powering the software. In this breakdown, we are skipping the fluff and digging straight into 8 critical Premiere Pro skills that separate amateur button-mashers from high-paid editing professionals.
1. Non-Destructive Proxy Workflows for 4K and 8K Media
High-resolution camera formats will choke even high-end editing workstations if you attempt to edit raw files natively on a complex timeline. Attempting to scrub through uncompressed 4K or 8K footage without an optimized pipeline leads to dropped frames, system freezes, and endless preview rendering. Mastering Premiere Pro’s built-in Ingest and Proxy workflow allows you to edit butter-smooth low-resolution copies while preserving pristine master files for final export.
Setting up automatic proxy creation during ingest ensures your timeline performance stays fluid regardless of your source media's original bitrate. You can toggle instantly between lightweight ProRes Proxy or DNxHR files and original camera files with a single custom shortcut. This skill saves hours of editing lag and guarantees that your timeline responsiveness never slows down your creative momentum.
- Custom Ingest Presets: Automatically generates lightweight editing proxies in the background as soon as raw footage transfers from memory cards into your project bins.
- Toggle Proxy Button Mapping: Enables instant hardware-level switching between editing-friendly proxies and full-resolution camera files directly on the Program Monitor.
- Frame-Accurate Aspect Ratio Matching: Keeps custom proxy resolutions identical to native camera aspect ratios, eliminating unexpected framing distortions during color grading handoffs.
- ProRes and DNxHR Codec Selection: Uses editing-optimized intermediate codecs that offload strain from your CPU, eliminating timeline lag and stuttering playback during complex trims.
- Relinking and Metadata Preservation: Preserves original camera audio track channels and metadata intact, guaranteeing flawless high-res relinking when exporting final client deliverables.
Why It Matters
Editing directly with heavy camera files creates unnecessary system drag that wastes hours every single week. Mastering proxy creation allows you to maintain real-time playback speeds, meet tight project turnarounds, and handle massive multi-camera projects without upgrading your computer hardware every year.
2. Dynamic Ripple, Slip, and Slide Trimming Techniques
Dragging clip handles around the timeline with a standard selection tool is the slowest way to edit a video. Professional editing velocity relies entirely on dynamic trimming tools like Ripple, Rolling, Slip, and Slide edits. These precision editing modes allow you to alter clip timing, adjust scene pacing, and adjust shot boundaries without creating accidental gaps or breaking your timeline’s sync.
Understanding the fundamental difference between a Slip edit (shifting a clip's in/out points while keeping its duration fixed) and a Slide edit (moving a clip along the timeline while adjusting neighboring clips) changes your editing speed completely. Combining these operations with keyboard modifier keys keeps your hands strictly on the keyboard and your focus on storytelling instead of tedious timeline organization.
- Precision Ripple Edits: Trims clip heads or tails while automatically pulling downstream timeline assets back to close empty gaps in a single stroke.
- Rolling Edit Execution: Adjusts the cut point between two adjacent clips simultaneously, refining transition timing without altering the total sequence length.
- Slip Tool Manipulation: Changes the internal timing of a video clip while keeping its exact physical position and overall duration unchanged on the primary timeline.
- Slide Tool Adjustments: Moves a selected clip left or right along your track while automatically trimming the adjacent incoming and outgoing clips accordingly.
- Keyboard-Driven Trim Mode: Opens dedicated dual-monitor preview trimming interfaces directly through keyboard hotkeys for pixel-precise, frame-by-frame pacing adjustments.
Why It Matters
Precision trimming separates editors who take ten hours on a cut from those who finish the same sequence in two. Eliminating manual gap-closing and tedious clip repositioning instantly accelerates your editing output, allowing you to hit tight commercial turnarounds effortlessly.
3. Essential Sound Design and Essential Sound Panel Mixing
Bad audio ruins good video every single time. Viewers will forgive a slightly soft focus shot, but muffled dialogue or unbalanced background audio makes content feel unwatchable. Premiere Pro’s Essential Sound Panel provides a streamlined interface for audio ducking, dialogue cleanup, sound level standardization, and acoustic environment matching.
Assigning sound types such as Dialogue, Music, SFX, or Ambience allows you to apply targeted audio processing across whole audio categories. Utilizing auto-ducking features lowers music tracks dynamically whenever dialogue audio appears. Mastering these essential audio tools eliminates painful manual keyframing and helps you deliver broadcasting-ready sound mixes every single time.
- Automated Audio Ducking: Dynamically suppresses background music tracks whenever dialogue frequencies are detected, maintaining vocal clarity without manual keyframing.
- Dialogue Loudness Normalization: Automatically adjusts dialogue tracks to industry-standard target levels (such as -23 LUFS or -14 LUFS) across your entire sequence.
- Speech Enhancement Processing: Cleans up muddy vocal tracks, reduces background hum, and restores crisp vocal presence using built-in audio repair tools.
- Acoustic Reverb Matching: Balances spatial ambience across clips recorded in different room environments, unifying mismatched voiceover tracks.
- Track-Based Audio Effect Routing: Applies EQ, compression, and limiting across entire track categories inside the Audio Track Mixer rather than pasting effects clip-by-clip.
Why It Matters
High-quality audio mixing elevates your production quality instantly. Clients rarely understand complex color math, but they immediately notice clean, intelligible dialogue and polished audio levels. Delivering crisp sound ensures your commercial edits look and feel like high-budget network productions.
4. Multi-Camera Source Sequence Editing and Audio Syncing
Editing multi-angle interviews or live event footage manually is an absolute nightmare. Premiere Pro’s Multi-Camera Source Sequence features automate video alignment by analyzing waveform signatures across multiple camera angles and audio recorders simultaneously. This creates an interactive multi-cam rig that lets you switch camera angles live using your keyboard's number keys.
Mastering multi-cam workflows allows you to cut complex multi-angle footage in real time as the sequence plays back. It eliminates manual sync adjustments, reduces track clutter, and lets you fine-tune camera angles after making your initial real-time cuts.
- Waveform-Based Auto-Syncing: Aligns multi-camera video angles and external audio tracks automatically by matching audio signatures without requiring timecode.
- Real-Time Live Switching: Cuts between camera angles dynamically in real time using keyboard keys (1–9) as your timeline plays back.
- Multi-Cam Target Angle Refining: Swaps out specific camera cuts on existing multi-cam timelines quickly without disrupting your established edit timing.
- Camera Color Pre-Grading: Applies Lumetri color corrections directly onto underlying source angles inside the multi-cam sequence, updating every instance across the edit instantly.
- Audio Channel Mapping Controls: Isolates clean primary lapel or boom microphone sources while keeping secondary camera audio muted across all camera switches.
Why It Matters
Multi-cam efficiency turns hours of manual footage alignment into a streamlined, real-time cutting process. Being able to handle complex multi-angle podcasts, corporate interviews, and live event footage opens up higher-paying production opportunities.
5. Lumetri Color Correction and Primary Color Pipeline
Slapping a random Look-Up Table (LUT) onto log footage is not color grading. Real color correction requires balancing exposure, correcting white balance, matching shot-to-shot variations, and maintaining accurate skin tones using vector scopes and waveform monitors. Premiere Pro’s Lumetri Color panel gives you a professional color workflow right inside your main editing workspace.
Understanding how to read Lumetri Scopes like Waveforms, Parade, and Vectorscope is critical for professional color correction. Scopes show you objectively where your exposure levels sit and reveal color casts that your eyes might miss due to monitor inaccuracies. Building a structured color pipeline ensures your final exports remain visually cohesive across different viewing screens.
- Lumetri Scope Analysis: Monitors YC Waveform, RGB Parade, and Vectorscope reads to ensure legal broadcast signal levels and accurate color saturation.
- Shot Matching Automation: Uses AI-powered comparison algorithms to match the color profile and exposure of target clips to reference shots automatically.
- Secondary HSL Isolation: Isolates precise color hue ranges such as skin tone tones or product colors for targeted hue, saturation, and luminance adjustments.
- LOG-to-Rec.709 Color Conversion: Transforms flat camera profile curves accurately into standardized color spaces using primary correction controls and input LUTs.
- Adjustment Layer Color Grading: Applies global visual looks across broad sequence sections without baking destructive color settings directly into source clips.
Why It Matters
Mastering color correction guarantees that your finished projects look consistent and polished on any display. It prevents technical color clipping, preserves natural skin tones, and gives your work a refined, commercial-grade look that clients notice right away.
6. Graphic Templates (MOGRTs) and Essential Graphics Integration
Designing motion graphics completely from scratch for every title, lower third, or callout slows down your editing momentum. Motion Graphics Templates (.mogrt files) created in After Effects allow editors to use complex, customizable animations directly inside Premiere Pro's Essential Graphics panel.
Customizing MOGRT parameters such as text fields, color palettes, layout boundaries, and responsive timing controls lets you update animated graphics without touching After Effects. Learning how to manage, build, and organize native graphic templates streamlines recurring branding assets and keeps your post-production workflow running fast.
- Essential Graphics Panel Customization: Modifies text formatting, graphic scaling, element alignment, and custom color controls directly on your edit sequence.
- Responsive Design Time Controls: Preserves intro and outro animation speeds automatically when stretching or compressing the overall duration of a graphic clip.
- Local MOGRT Library Archiving: Organizes recurring brand assets, lower thirds, and callout graphics into accessible local libraries for rapid drag-and-drop editing.
- After Effects Dynamic Linking: Replaces selected timeline clips with linked After Effects compositions for deep visual effects updates without manual file exports.
- Vector Text Masking and Tracking: Creates custom visual reveals and animates text elements using built-in masking paths directly inside the Essential Graphics panel.
Why It Matters
MOGRT workflows bridge the gap between simple video editing and complex motion graphic design. Leveraging customizable motion templates allows you to deliver polished, branded graphics rapidly without getting derailed by time-consuming animation setups.
7. Speech-to-Text Transcription and Auto-Caption Workflows
Captions are no longer optional. With most social media videos viewed on mute, accessible subtitling directly drives viewer retention and engagement metrics. Premiere Pro’s native Speech-to-Text engine generates automatic transcriptions, matches spoken cadence, creates open captions, and lets you edit video directly from text transcripts.
Mastering text-based editing allows you to search long interview transcripts for specific keywords, cut out filler words, and edit sequence clips by simply deleting text in the transcript window. This workflow turns tedious dialogue editing into a fast, text-like editing experience.
- Automatic Speech-to-Text Generation: Generates speaker-separated transcriptions across multiple spoken languages in minutes using local or cloud AI processing.
- Text-Based Timeline Trimming: Edits video timeline cuts directly by highlighting, selecting, and deleting dialogue text within the Transcript panel.
- Custom Subtitle Style Presets: Formats caption font families, background bounding boxes, line lengths, and screen positioning to match channel branding guidelines.
- Automated Silence and Pause Removal: Detects quiet pauses and filler words across spoken audio tracks automatically, allowing instant bulk deletions.
- SRT and Subtitle File Exporting: Exports sidecar subtitle files (.srt, .vtt) or bakes burn-in open captions directly onto final video exports.
Why It Matters
Automating transcriptions and caption generation saves hours of manual typing and video scrubbing. Text-based editing accelerates rough-cut assemblies, keeps online viewers engaged, and delivers accessible video formats instantly.
8. Master Media Encoder Queueing and Custom Export Presets
An edit isn't finished until it is exported correctly. Rendering heavy projects directly out of Premiere Pro freezes your editing environment and wastes precious working time. Routing your timeline renders through Adobe Media Encoder lets you export projects in the background while continuing to cut new sequences uninterrupted.
Building custom export presets tailored for specific client specifications such as ProRes masters, high-bitrate H.264 deliverables, or lightweight web previews guarantees consistent export quality every time. Mastering render configurations prevents color shifts, audio compression errors, and unexpected file rejections during final delivery.
- Adobe Media Encoder Background Batching: Offloads sequence rendering processes to Media Encoder, freeing up Premiere Pro for active timeline editing.
- Custom Destination Preset Creation: Standardizes target resolution bitrates, audio formats, and color profiles into reusable export presets.
- Hardware Acceleration Encoding: Leverages GPU hardware acceleration to speed up H.264 and HEVC rendering times significantly.
- Smart Rendering Pipeline: Reuses existing timeline preview files during export to cut final rendering times down to fractions of the normal duration.
- Automated File Naming Conventions: Applies dynamic tags such as project name, sequence date, and resolution specs to keep exported media files organized cleanly.
Why It Matters
Mastering background exporting and custom render presets protects your output quality and keeps your system available for creative work. It eliminates export bottlenecks and ensures your final deliverables match professional broadcast standards reliably every time.
Connecting Execution Skills to Your Career Growth
Possessing high-level editing skills means very little if prospective clients or creative directors cannot clearly evaluate your actual execution capabilities. Resume bullet points claiming you "know Premiere Pro" do not build trust. Modern creative hiring relies on proof of work showing real project breakdowns, timeline screenshots, before-and-after color passes, and functional project files.
When you document your editing workflows, multi-cam setups, and problem-solving processes publicly, you demonstrate clear operational capability to potential employers. This is precisely why we built Fueler to help creators showcase real proof of work, assignments, and detailed project case studies instead of relying on flat, outdated resumes. Showing how you build timelines and solve technical editing challenges builds instant trust and opens up higher-paying career opportunities.
Final Thoughts
Mastering Premiere Pro is an ongoing journey of replacing slow, repetitive habits with fast, scalable editing workflows. Focusing on technical timeline management, audio precision, color science, and background rendering turns complex production challenges into smooth, predictable routines. Commit to refining these eight core skills continuously, and your editing capabilities will naturally stand out in a competitive industry.
Frequently Asked Questions
What are the most essential Premiere Pro skills for beginners?
Focus first on non-destructive proxy workflows, dynamic keyboard trimming (Ripple and Slip tools), basic Lumetri color balancing, and track-based audio mixing in the Essential Sound panel. These core mechanics form the foundation of professional editing workflows.
How do proxy files improve editing performance in Premiere Pro?
Proxies replace heavy camera files with lightweight editing copies during timeline playback. This prevents dropped frames and hardware lag while editing, while automatically preserving your high-resolution original files for the final video render.
Can I edit video directly from text in Premiere Pro?
Yes, Premiere Pro's Speech-to-Text feature generates automatic transcriptions of spoken audio. You can highlight, select, and delete text directly inside the transcript window to perform instant edits on your timeline sequence.
Why should I use Adobe Media Encoder instead of exporting directly?
Exporting through Adobe Media Encoder offloads rendering to a background application. This keeps Premiere Pro responsive so you can keep working on other sequences while your final files render in the background.
How do I show proof of video editing work without relying on resumes?
Showcase comprehensive case studies that display your timeline setups, raw-to-graded color passes, sound design tracks, and finished cuts. Publishing these project breakdowns on platforms like Fueler provides concrete proof of your editing execution skills.
Why 100,000+ professionals use Fueler
Fueler helps professionals showcase proof of work through projects, assignments, case studies, and achievements.
- Thousands of professionals use Fueler to create their digital portfolio
- Thousands of projects are published on Fueler. Check here
- Startups and Companies hire through proof of work on Fueler
- Used by freelancers, creators, marketers, video editors, writers, designers, and product managers
Our mission is to help the next 100 million professionals build a verified professional identity through proof of work

What should you do next?
You've read the article. Now turn your skills into proof of work and unlock more opportunities.
Build your proof of work portfolio
Create a clean portfolio with projects, assignments, resumes, and AI stack details that companies actually want to see.
Create your Fueler portfolio →Apply through assignments, not resumes
Stand out by solving real tasks from companies hiring on Fueler.
Explore assignments →Get discovered by companies
Make your work public and let recruiters discover your skills through actual projects instead of keywords.
Get discovered →